
Home Insemination
How to Inseminate At Home
For many women and couples, their first step toward parenthood with donor sperm is performing a home insemination. Some people find this to be a more comfortable and affordable method of conception compared to starting off in a clinical environment.
This procedure, also known as intracervical insemination or “ICI,” can be an effective option for women with no fertility issues that can complicate their efforts. It involves using a plastic, needle-less syringe to inject the donor sperm into the vagina. The sperm cells can then travel naturally into the uterus and hopefully progress further on to fertilize the egg.
Electing to perform an insemination outside of a doctor’s office allows you to create the atmosphere you want in the comfort and privacy of your own home. It can also save you additional medical costs associated with fertility treatments done by a clinician.
Here we offer a brief overview of how to start your journey with home insemination.
A Simple Process
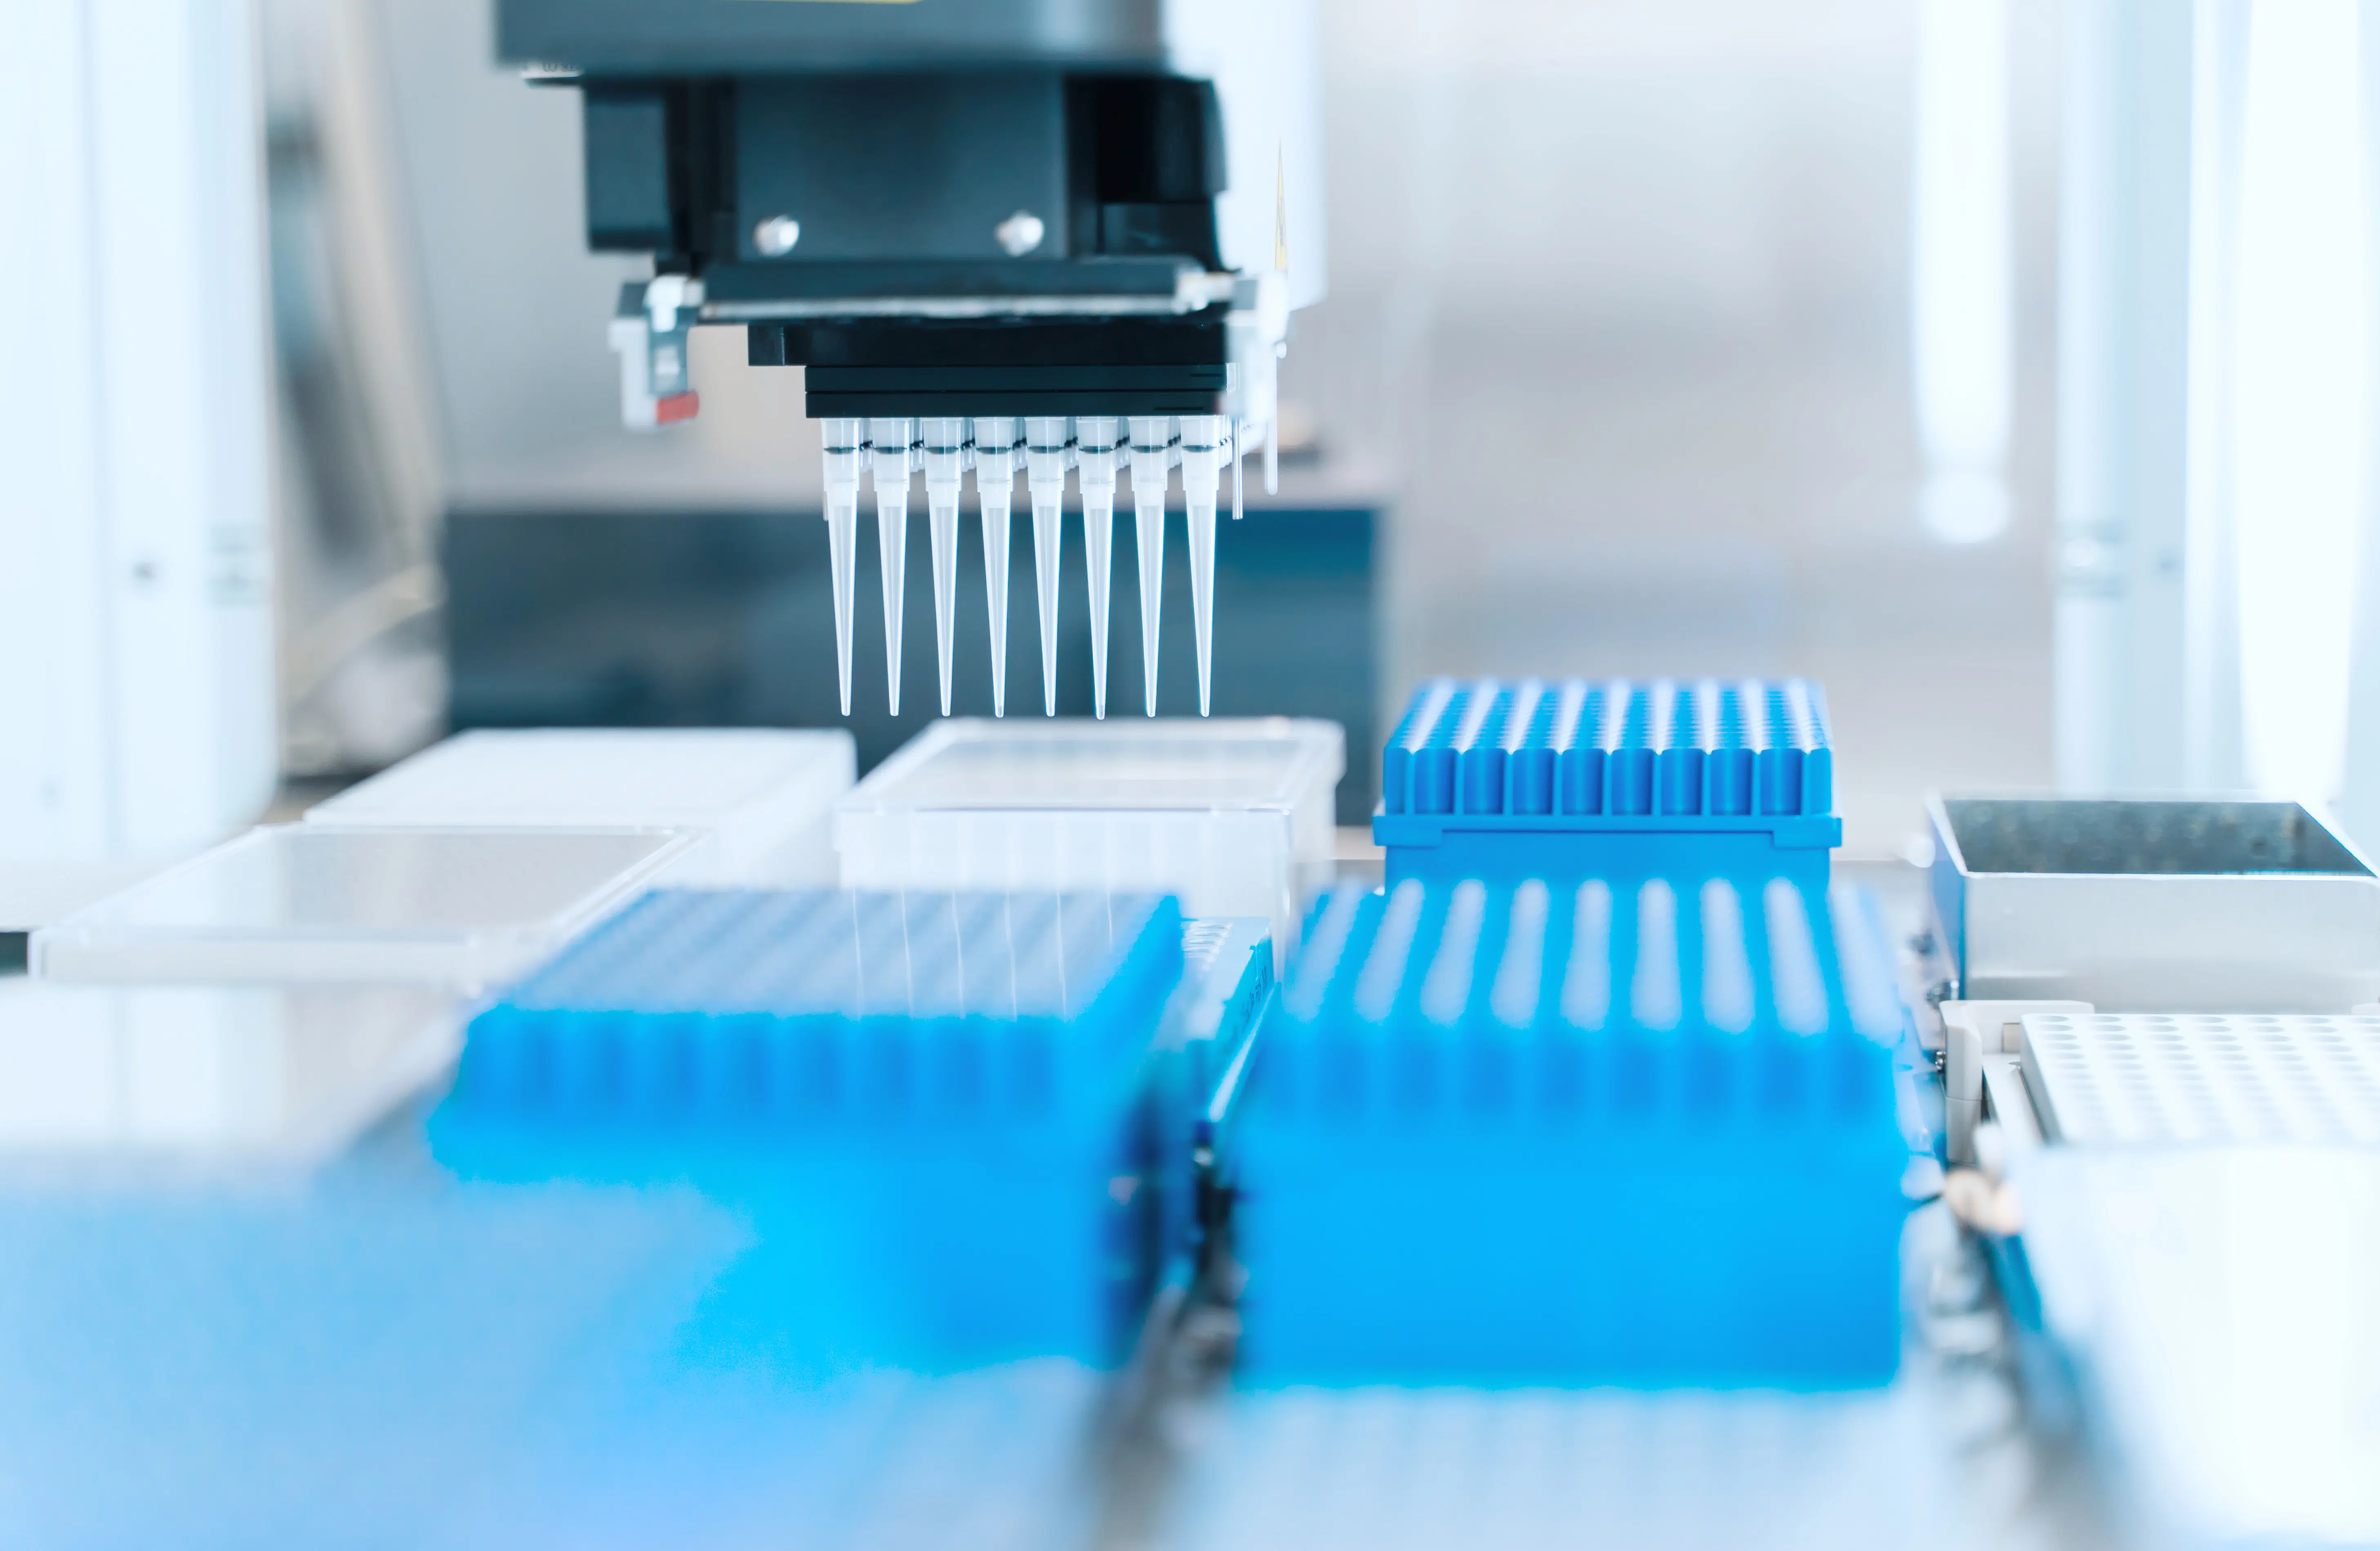
What You Need for Your Home Insemination
First, you’ll need to select a sperm donor and place your order for samples. If you need guidance or have questions about choosing a donor, we encourage you to contact one of our friendly Client Services Coordinators. You can call 1-206-588-1484 or email us at CS@seattlespermbank.com. We offer free email, telephone, and in-person consultations, free photo matching, and friendly advice from our team of dedicated coordinators, all of whom interact with our donors on a regular basis. Our staff can also help you properly purchase, order, and plan for the storage of your samples.

After deciding on a donor, it’s important to make sure you purchase an ample supply of vials. Since at least one vial is used per insemination, and it typically takes more than one insemination to become pregnant, you’ll want to have enough in storage to cover multiple attempts. It is not uncommon for a donor’s inventory to temporarily sell out, so it’s better to purchase more up front when they are available. If you get pregnant when you still have samples in storage, you can take advantage of our Buy Back Program.
We also have several discount and incentive programs to help make this process more affordable. Once you’ve secured your sperm samples, they can be sent directly to your home, picked up from our lab in Seattle, or sent to your physician’s clinic for you to pick up.

Consult Your Physician
Create a Plan With Your Health Care Provider
We always recommend you consult with a medical professional to discuss your detailed medical questions and help you create a customized care plan.
A great person to start with is your primary care physician, gynecologist, naturopath, nurse practitioner, or midwife. They can perform an initial fertility evaluation, which is similar to your annual gynecological exam, to help you decide if home insemination is right for you. They can also advise you on ways to improve your odds of achieving pregnancy as quickly as possible. This evaluation usually takes about an hour and may include a discussion of your current and past health history, your family’s health history, your diet, exercise habits, and menstrual cycle patterns. They may also perform basic lab tests such as pap smear, blood, urine, and thyroid testing.
All of these tests help you and your care provider determine if doing inseminations at home is a safe and practical method based on your overall health and wellness. If you plan to have samples shipped to your home, pick them up from our lab in Seattle, or you live in the state of New York, your care provider will need to complete our Clinical Release Form.
Along with every home insemination purchase, you will receive a free insemination kit. This includes a re-usable foam tray for thawing vials in a water bath, two plastic needle-less syringes per vial, alcohol sterilization wipes, and basic thawing and usage instructions. You can watch a visual demonstration of this process on our videos page.
If you choose to use a lubricant, which can be helpful when inserting the syringe, be sure it’s fertility-friendly because most lubricants will damage live sperm. ProSeed is a popular brand that can be found at most pharmacies.
For more information and guidance, you may want to read Toni Weschler’s Taking Charge of Your Fertility: The Definitive Guide To Natural Birth Control, Pregnancy Achievement, and Reproductive Health. This highly respected book is recommended by many doctors we work with.
Timing Is Critical
How to Schedule Your At-Home Insemination
The timing of your insemination is critical. This procedure is extremely time-sensitive and should be coordinated with your natural ovulation cycle. The goal is to inseminate during your 12 to 24-hour “fertility window.” For most women, this takes place sometime between days 10-15 of their monthly cycle. We recommend using a home ovulation monitor to help you target your most fertile days. It can be helpful to start practicing this a month or two before your first insemination attempt so you can become more aware of your peak ovulation time.
How The Process Works
How the Home Insemination Process Works
- Once you have your vial(s) at home, bring it up to body temperature (again, instructions for thawing the frozen vials are provided with the kit and are shown in our demonstration video) and be sure to inseminate within one hour. While the sample is getting ready, take time to relax and put your mind at ease. You can meditate, put on soothing music, dim the lights, or do anything else you find comforting.
- When everything is ready and in place, lie down on your back with your hips raised up on a pillow or two. Then, you or your partner will gently insert the syringe into your vagina as far as it will go. Try to direct the tip of the syringe as close as possible to the cervix. Gently press the plunger and make sure to empty it completely. Then leave it in position for 10-15 seconds before withdrawing it slowly.
- To create an ideal environment for the sperm to travel, we recommend you remain lying down for at least 15-30 minutes following the procedure. You may choose to only inseminate once, or repeat insemination two or three times during your fertile window to increase your chances of conception.
- Finally, a note about managing expectations. On average, it takes five cycles for most women to achieve pregnancy. Don’t be discouraged if it doesn’t happen on your first or second try. By following the tips above, you’ll give yourself the best chance of starting a family. All of us here at Seattle Sperm Bank look forward to working with you and we wish you the best on your path to pregnancy!
Disclaimers
The medical information in this article is provided as an information resource only, and is not to be used or relied on for any diagnostic or treatment purposes. This information is not intended to be patient education, does not create any patient-physician relationship, and should not be used as a substitute for professional diagnosis and treatment.
Please consult your healthcare provider before making any healthcare decisions or for guidance about a specific medical condition. Seattle Sperm Bank expressly disclaims responsibility, and shall have no liability, for any damages, loss, injury, or liability whatsoever suffered as a result of your reliance on the information contained in this article. Seattle Sperm Bank does not endorse specifically any test, treatment, or procedure mentioned on the site.
Any orders placed for delivery to a non-clinic address (residence, place of work, UPS/FedEx Store, etc.), do not fall under our routine Quality Guarantee, as motile sperm count(s) cannot be verified by a trained andrologist or embryologist. Additionally, any claims of receiving a thawed cryotank or thawed vial(s), will need to be verified by sending the vial(s) back to Seattle Sperm Bank, with the return of the cryotank, for microscopic verification that the specimen was thawed and not used for insemination.